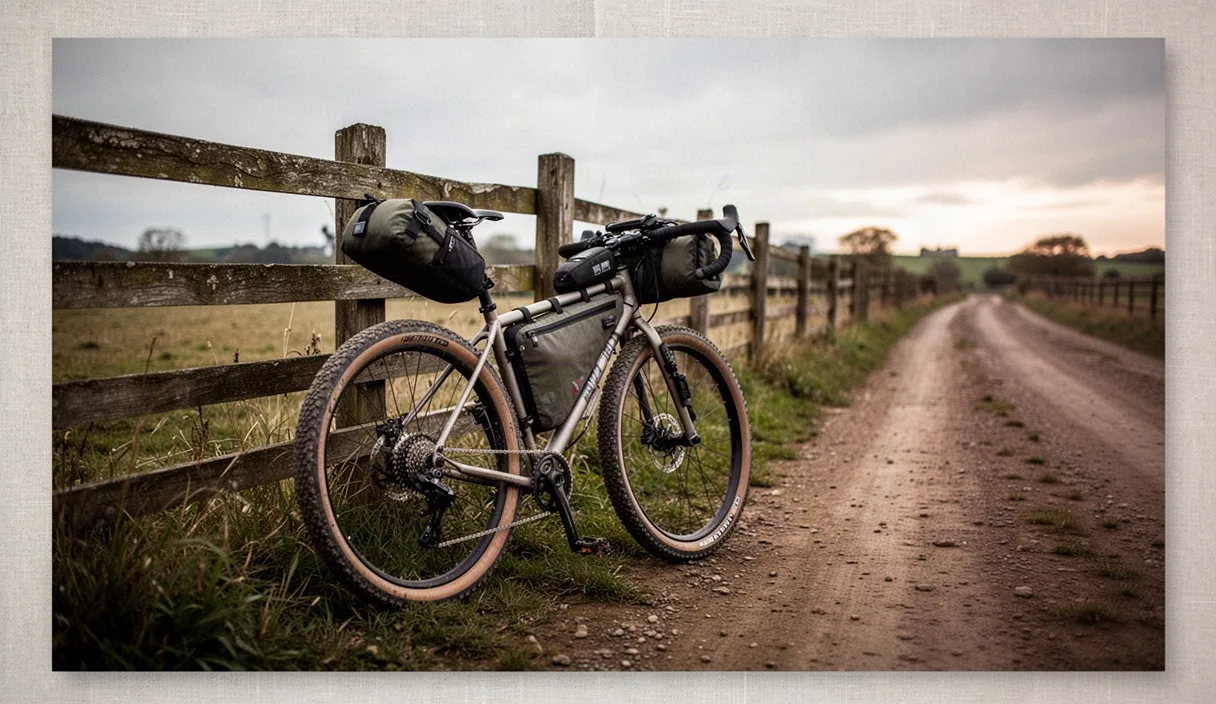
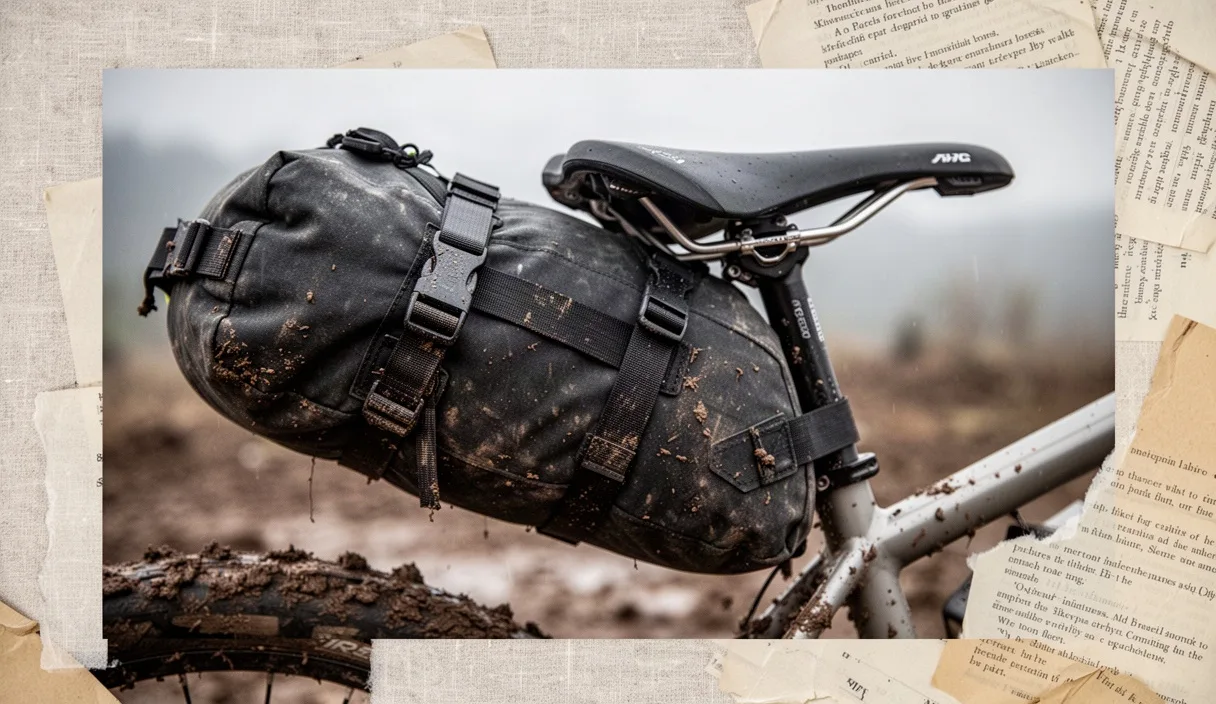
Food weight destroys seatpack stability. A weekend gravel route demands between 5,000 and 7,500 calories of shelf-stable provisions per person, translating to roughly 1.8 to 2.8 kilograms of dead weight. Pack that payload haphazardly into an extended 14-liter seat bag, and every out-of-the-saddle pedal stroke triggers a pendulum motion that fights your rear wheel, wastes watts, and degrades handling on loose descents.
Eliminating sway requires controlling mass distribution, tightening structural compression, and isolating your mounting interface from frame movement. Two days of provisions can ride silently behind your saddle without an external rack if you pack by density gradients, lock down your webbing correctly, and guard critical hardware against friction wear.
Understanding pendulum leverage on seatpost mounts
Seatpacks are cantilevered beams anchored at two points: the saddle rails and the seatpost stanchion. The distance from your saddle rail clamp to the rear tip of a fully packed 15-liter roll-top bag measures anywhere between 38 and 52 centimeters. Any dense mass placed at that rear tip acts on a long mechanical lever arm, multiplying lateral forces against your bike frame every time your hips rock across the bottom bracket.
When you stand on steep 12 percent grades, your bike tilts laterally 8 to 15 degrees per pedal stroke. If a 700-gram bag of trail mix and foil-packed fish sits at the tail end of the pack, lateral inertia delays the bag's return to center. This phase lag produces the fishtail sensation known as pack sway. The force twists the saddle rails, deforms plastic strap buckles, and can pull your rear tire out of line on loose gravel over hardpack.
Reducing that torque requires moving the center of mass within 10 centimeters of the seatpost clamp. Mass located directly under the saddle rails exerts rotational torque downward, which your bike frame absorbs through the seatstays, rather than lateral torsional torque, which twists the seatpost. Every centimeter of rearward extension increases the felt sway at the handlebars exponentially.
Packing order: heavy caloric cores to soft tail-ends
Pack by material density, not by meal chronology. Food contains some of the densest items in your bikepacking kit. A jar of nut butter or a vacuum-sealed block of cheese has a density approaching 1.1 grams per cubic centimeter. A down quilt, by contrast, sits around 0.08 grams per cubic centimeter when lightly compressed. Shoving dense rations into the back of the bag guarantees violent sway.
- The tapered nose cone: Slide your heaviest, densest calories into the narrow taper that rests against the seatpost. Place foil packets of oily fish, dense nut butter packets, electrolyte tablets, and grain bars here. Wedge them tightly so they cannot shift sideways during vibration.
- The lower mid-body: Layer your stove kit, multi-tool, and dense dehydrated dinner packs directly beneath the saddle rails. This anchors the gravitational weight over the seatpost axis.
- The upper mid-body: Stuff lightweight structural items like a mid-layer wool shirt, extra riding socks, or your tent canopy around the meal pouches to lock them in place and eliminate void spaces.
- The tail-end roll-top: Fill the final 15 to 20 centimeters exclusively with high-loft, compressible gear. Pack your sleeping pad, down jacket, or dry camp clothing here.
Dehydrated meals trap trapped air inside factory gussets. Puncture an ultra-fine pinhole near the top seal, squeeze out all residual atmosphere, and seal the pinhole with a thumbnail-sized patch of duct tape before packing. This simple step cuts package volume by nearly a third, allowing three dinner pouches to slide 8 centimeters deeper toward your seatpost.
Never pack hard, angular food containers against outer nylon shells without internal padding. Hard corners create pressure points that wear through fabric when strapped against saddle clamps. Repackage rigid dry goods into flexible silicone pouches or freezer bags to allow your compression straps to mold the bag into a rigid cylinder.
Anti-sway brackets versus tensioned strapping techniques
Riders combat sway using two methods: mechanical external stabilization or calculated manual tensioning. Mechanical stabilizers, such as aluminum brackets bolted to the saddle rails, physically cage the pack sides. Strapping systems rely on high-tensile webbing and friction buckles anchored to the saddle framework.
| Stabilization Method | Weight Penalty | Lateral Sway Control | Dropper Compatibility | Mechanical Failure Point |
|---|---|---|---|---|
| Aluminum Rail Bracket | 160 to 240 g | High (rigid cage) | Requires saddle-only clamp | Bracket fatigue crack, rail bolt sheer |
| Twin Secondary Voile Straps | 45 to 65 g | Moderate to High | High (clears stanchion) | Buckle slippage under mud coating |
| Integrated Wishbone Frame | 310 to 420 g | Extremely High | Low (requires dedicated post mount) | Pivot pin wear, rack weld fracture |
| Stock Pack Straps Only | 0 g | Low to Moderate | High (universal) | Webbing creep, ladderlock teeth wear |
If you run a soft pack without an external metal bracket, use two 20-inch polyurethane Voile straps to form an external compression harness. Loop one strap through the saddle rails, pass it diagonally under the belly of the seatpack at the halfway point, and pull until the pack body bends slightly upward. Run the second strap around the rear circumference of the pack roll-top to compress the lateral profile into a tight bullet shape.
Thread factory webbing straps correctly through their ladderlock buckles. After pulling the main rail straps tight, feed the loose tail back through the buckle in reverse to form a manual lock. Wet grit on nylon webbing reduces friction by up to 25 percent, leading to progressive slackening over 40 kilometers of washboard gravel. A locked-off strap eliminates this creep entirely.
Protecting dropper posts from grit wear and load stress
Mounting heavy provisions directly to a dropper post introduces severe reliability risks. Grit trapped beneath a nylon seatpost strap grinds into the anodized coating of your stanchion with every bump in the trail. Deep vertical scratches past the hard-anodized layer breach the upper dust wiper, allowing water and stone dust into the brass glide keys and cartridge sealhead.
Dropper posts also resist lateral bending loads poorly when extended. Hanging 3 kilograms of provisions off the saddle rails exerts continuous bending leverage on the upper bushing. Over rough descents, this accelerated wear introduces side-to-side saddle play and can cause the dropper post to bind mid-travel.
- Install a rigid clamp adaptor: Use a machined aluminum or composite collar, such as a Wolf Tooth Valais or Bedrock Cinch, clamped to the upper stanchion. This creates an elevated mounting shelf that transfers clamping pressure to a stationary collar, preventing the pack strap from contacting the sliding seal.
- Wrap your post in clear polyurethane tape: If running a rigid post or a rigid section above the collar, apply 14-mil helicopter tape directly to the metal. Replace the tape whenever grit embeds into the adhesive surface.
- Verify rear tire clearance at full compression: Air down your rear suspension shock completely and drop the post to its lowest position. Ensure there is at least 3 centimeters of clearance between the rear tire tread and the bottom of your seatpack. Tire buzz on a nylon seatpack will instantly burn through your drybag fabric and tear meal pouches open.
If your dropper post develops excessive side-to-side wiggle or sticks when unweighted, consult an authorized suspension technician immediately. Continuing to ride a binding post under bikepacking loads can permanently score the internal upper tube assembly, requiring a costly cartridge replacement.
Field adjustments when rations deplete along the route
Your pack balance changes as you consume food. By mile 120 of a multi-day route, two days of food drops from 2.5 kilograms to zero. As you pull heavy caloric items out of the front taper of the pack, internal volume collapses, creating slack webbing and structural sag.
Maintain pack rigidity across your route with a mid-trip compression routine:
- Advance remaining food forward: Every morning, shift untouched meals, peanut butter packets, and remaining calorie bars as far forward into the nose cone as possible. Never leave empty space at the seatpost end.
- Roll down excess fabric volume: Do not just pull tension straps tighter over an empty bag cavity. Open the roll-top buckle, purge the trapped air, and take two to three additional rolls on the drybag closure to shorten the entire pack envelope.
- Migrate trash strategically: Flatten spent food wrappers, fold them into a sealable sandwich bag, and store them at the forward base of the pack. Pack trash carries no weight, but it preserves structural volume in the nose cone so your sleep kit remains locked at the rear.
- Retension rail webbing while lifting the tail: Lift the tail of the bag upward toward your saddle with your right hand before pulling down on the rail tension straps with your left. This removes static friction over the rail bends, allowing you to pull an extra 15 to 25 millimeters of strap through the buckle.
Common mistakes
Riders often make simple configuration errors that lead to catastrophic sway within the first 10 kilometers:
- Packing soft items first: Shoving a sleeping bag into the nose cone forces food items rearward, maximizing mechanical leverage against your saddle.
- Relying on loose external bungee nets: Lashing heavy canned items, water bottles, or wet flip-flops to the top bungee cord of a seatpack raises your bike's center of gravity and creates secondary pendulum wobble. Reserve exterior cordage exclusively for featherweight items like a wind jacket.
- Ignoring side-compression straps: Modern seatpacks feature horizontal compression wings. Failing to reef these side wings tight before tightening the vertical rail straps leaves the bag round and floppy instead of narrow and rigid.
- Neglecting rail strap friction: Riding with muddy, unwashed straps causes webbing to slip through tension buckles under vibration. Wash your hardware after wet rides.
Next steps for your gravel setup
Dialing in a zero-sway setup requires hands-on testing before rolling onto a remote gravel route. Build your dry pack on your workbench first.
Gather your planned 48-hour food load: measure its total mass on a kitchen scale and verify it falls within the safe carrying capacity of your saddle rails (typically under 4 kilograms total gear weight for standard hollow titanium or chromoly rails). Carbon rails require precise torque checks using a calibrated wrench, usually capped at 5 to 7 Newton-meters; consult the saddle manufacturer before mounting heavy clamping hardware.
Load the seatpack following the density gradient method: dense caloric items packed into the forward nose, soft sleeping gear packed into the rear. Mount the bag, lock the buckles, and complete a 20-minute local shakedown ride. Include two out-of-the-saddle hill sprints on a steep grade. If the bag taps against your inner thighs or oscillates noticeably behind you, stop, unload the mid-body, shift another 500 grams of mass closer to the seatpost, and lock the rail webbing down again.