Overnight gravel trips punish setups built purely for speed. Adding eight to fourteen kilograms of camping gear, extra water, and tools alters how your frame handles, flexes, and clears debris. Regional dirt roads feature unmaintained surfaces, deep washboard, loose crushed limestone, and sudden steep gradients that overwhelm skinny tires and standard road gearing. Setting up a rig for two days self-sustained in the backcountry requires balancing cargo stability with mechanical resilience.
Preparation starts with geometry and clearance before you buy single-purpose bags. A fully loaded bicycle responds slower to steering inputs and requires higher braking force on descents. If your tires are too narrow, the added weight drives your rims straight into embedded rocks. If your cockpit sits too low, your neck and wrists take the brunt of every rutted descent over six hours of saddle time. Dialing in the contact points, luggage layout, and trailside repair kit ahead of time prevents catastrophic mechanical failures thirty miles from the nearest paved county highway.
Choosing tire widths and tread patterns for loose dirt tracks
Mount the widest tire your frame safely accepts while leaving at least six millimeters of clearance between the rubber and your stays. For unmaintained regional dirt roads, a true 44mm to 50mm casing is standard on 700c wheels. If your bike tops out at 40mm on 700c rims, consider a 650b wheel conversion running 47mm to 53mm tires. The added air volume lets you drop pressure to cushion against washboard and maintain traction over loose, dry gravel without pinch-flatting your casing against the rim bed.
Tread design dictates efficiency across mixed terrain. Smooth file treads roll fast on hard-packed clay, but they spin out the moment you pedal up an eleven percent grade covered in marble-sized ballast. Full knobbies add rolling resistance and buzz your hands on tarmac transfers. The ideal regional bikepacking tire pairs a tightly packed, low-profile center track for rolling efficiency with pronounced, supported shoulder knobs that bite when leaning into loose corners.
| Tire Width | Recommended Rim Inner Width | Loaded Front Pressure (82kg total) | Loaded Rear Pressure (82kg total) | Best Terrain Profile |
|---|---|---|---|---|
| 700c x 42mm | 21mm to 24mm | 30 psi | 33 psi | Packed gravel, graded forest service roads |
| 700c x 45mm | 23mm to 25mm | 27 psi | 30 psi | Loose crushed rock, light washboard, dry dirt |
| 700c x 50mm | 24mm to 26mm | 23 psi | 26 psi | Deep washboard, sand patches, rutted fire roads |
| 650b x 47mm | 23mm to 25mm | 24 psi | 27 psi | Embedded rocky paths, mixed gravel and singletrack |
Always build around a supple, reinforced tubeless casing. Standard ultralight race casings tear too easily against flint and sharp shale once cargo weight pushes down on them. Look for reinforced sidewalls featuring an integrated nylon grid, commonly marketed as puncture protection or gravel casing. Seat your beads with fresh sealant, adding 30 to 40 milliliters over standard volume to offset air loss through casing pores during overnight temperature swings.
Frame bag clearance and water bottle cage relocation
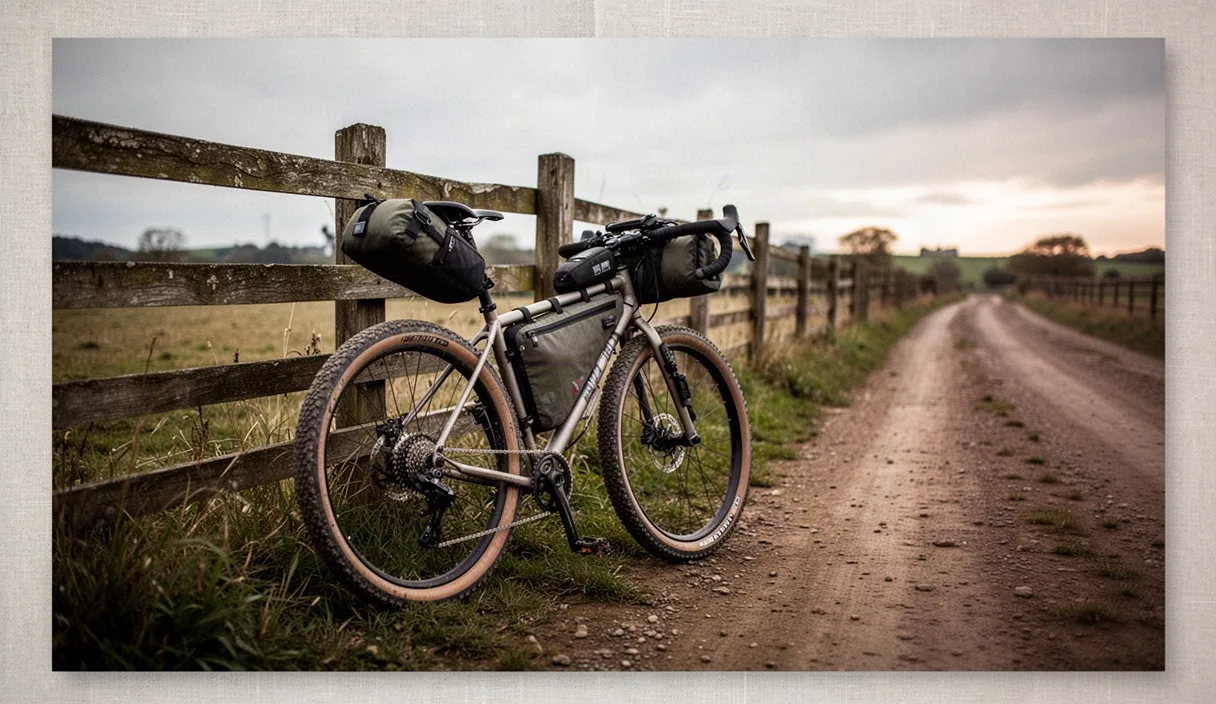
Your frame triangle holds the heaviest cargo because weight stored here preserves a neutral center of gravity. A custom or modular full-frame bag utilizes the entire triangle, but it eliminates your standard seat tube and down tube bottle mounts. A half-frame bag preserves space beneath it for fluids, but it creates a tight fit for standard 750ml bottles, often jamming the tops of the bottles against the bag zipper.
To retain hydration capacity while running a half-frame pack, install cage relocation brackets. Hardware pieces like the Wolf Tooth B-RAD system, along with slotted side-loading cages, drop your bottles between 20mm and 50mm lower into the frame. Side-loading cages allow you to extract bottles laterally rather than pulling them straight up into the loaded frame pack. If bottle clearances remain under 10mm, switch to shorter 600ml bottles or relocate one cage to the underside of the down tube using factory triple-boss mounts or heavy-duty rubber-lined hose clamps.
- Apply helicopter tape or thick polyurethane film to the head tube, top tube, down tube, and seat tube before mounting straps. Fine road grit trapped beneath bag straps acts as sandpaper, stripping clear coat and gouging bare aluminum or carbon within forty miles.
- Ensure at least five millimeters of clearance between the inside face of the crank arms and the widest point of a packed frame bag. Overstuffing the bag creates fabric bulge that rubs shoes and cranks on every revolution.
- Run heavy, dense items like your multi-tool, stove, spare tubes, and battery packs in the bottom third of the frame pack to keep your center of mass anchored low.
- Verify that cables exiting the bottom bracket area are not pinched by lower bag retention straps, which can induce poor shifting or damage exposed hydraulic lines.
Hydration bladders designed specifically for frame packs offer an alternative to bottles. A two-liter bladder laid along the base of a full-frame bag lowers fluid weight significantly compared to fork-mounted cargo cages, leaving your steering light while keeping water clean from rear-wheel dust spray.
Cockpit adjustments for riding while carrying gear loads
Front-end weight alters how your fork tracks. Loading a handlebar harness or roll bag adds inertia to your steering axis, which can cause the front wheel to flop into slow-speed turns and feel sluggish during evasive maneuvers. Limit handlebar load to three kilograms, reserving that space for lightweight, high-volume equipment such as a down quilt, an ultralight bivy, or spare base layers.
Compensate for the additional front cargo and long hours by raising your handlebar stack height. Adding 10mm to 15mm of headset spacers under the stem raises your torso slightly, distributing weight back toward your sit bones and taking pressure off the ulnar nerve. If your fork steerer is already cut short, consider flipping your stem to a positive rise angle or swapping to a shallow-drop handlebar with 15mm to 20mm of integrated rise on the tops.
Bar width and flare also influence leverage over unpaved ground. Flared drop bars, featuring an outward angle between 16 and 24 degrees in the drops, widen your hand stance. This wider base gives your arms the mechanical advantage needed to muscle a loaded bike through sand patches, loose ruts, and sudden washboard transitions. Rotate your brake and shift levers slightly inward to align the hoods with your natural wrist angle, but avoid severe angles that prevent your fingers from reaching the brake levers while tucked into the drops.
Essential trailside spares: tire plugs, quick-links, mini-pumps
Regional dirt roads run through agricultural corridors and timberlands where punctures happen frequently. Relying on a single mini-tool and a prayer guarantees a long walk in stiff cycling shoes. Build a field repair kit based on components that face the highest stress under luggage weight: tires, chain, and derailleur hangers.
Tubeless repair tools must be immediately accessible without digging through your main luggage. Mount a tubeless plug capsule directly to your handlebar end or strap it next to your top-tube bag. Carry both standard 3.5mm bacon strips and smaller 1.5mm repair strands. For larger tread gashes that plugs cannot seal, pack two flexible tire boots cut from old toothpaste tubes or heavy Tyvek mailing envelopes, alongside an emergency tube of vulcanizing rubber cement.
- Chain quick-links: Pack two pairs matching your exact drivetrain speed (11-speed or 12-speed). Chains run under extreme tension when grinding loaded bikes up steep grades, dramatically increasing the odds of snapping a plate under heavy shifting.
- Chain breaker: Verify your multi-tool features a sturdy chain tool with enough leverage to push pins out of modern, heavily peened links. Test it on an old scrap chain at home first.
- High-volume mini-pump: Leave high-pressure road mini-pumps at home. Use a dedicated high-volume gravel pump that delivers between 60cc and 90cc of air per stroke, preferably with an extendable rubber hose to avoid snapping tubeless valve stems while pumping.
- Replacement tubeless valves: Carry one long-stem spare valve with a removable core, plus a small plastic or aluminum valve core removal tool. Sealant frequently blocks valve cores after multiple top-ups.
- Universal derailleur hanger: If your frame uses the SRAM UDH standard, replacements are straightforward. If your bike relies on a proprietary hanger, purchase a brand-specific spare and carry it in your tool pouch permanently.
Add a lightweight spare tube matched to your tire width. While tubeless setups prevent small punctures, a rim strike that cracks a bead seat or slices a sidewall requires a temporary tube to roll home. Pack a valve nut wrench or small pliers to remove stubborn, thread-locked tubeless valves from the rim when your hands are cold and covered in sealant.
Managing balance on loose 12 percent gravel climbs
A loaded gravel bike climbing a twelve percent grade on loose dirt presents a traction dilemma. If you stand out of the saddle to muscle a heavy gear, you unweight the rear wheel, causing your rear tire to break traction and spin out over loose stones. If you sit entirely back on the saddle, your front wheel becomes light due to the leverage of a loaded rear seat pack, wandering off your chosen line or lifting off the ground entirely with every hard pedal stroke.
Adopt a crouched, seated climbing posture. Shift your pelvis forward so you are perched directly on the nose of your saddle. Bend your elbows deeply, pulling your chest downward until it hovers roughly twenty centimeters above your handlebar tops. This position drives your upper-body mass forward to pin the front wheel to the dirt while maintaining enough downward force through the bottom bracket and rear axle to keep your rear tire tread locked into the gravel.
Gearing plays an equal role in maintaining traction. Grinding at 50 RPM introduces torque spikes at the three o'clock position of your pedal stroke, which instantly breaks the tire's grip on loose stones. You need low enough gears to maintain a steady cadence between 75 and 85 RPM. For loaded regional bikepacking, aim for a gear ratio well below 1.0. A sub-compact double setup with 46/30 chainrings paired with an 11-36 cassette provides adequate spin, but a 1x mullet drivetrain pairing a 38T or 40T chainring with a 10-50 or 10-52 mountain bike cassette offers the mechanical advantage required to clean loose, double-digit grades without blowing out your knees.
Common mistakes
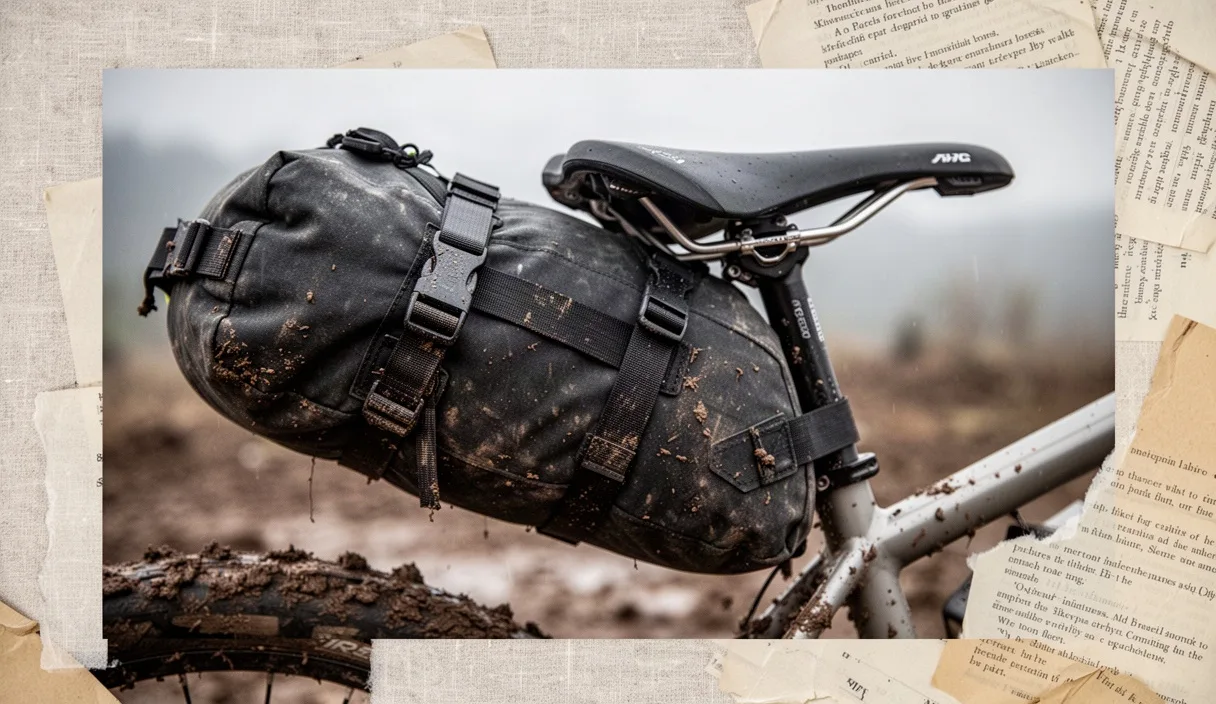
Riders often overpack their rear seat packs, creating a heavy pendulum that swings violently during out-of-the-saddle efforts. Compress your rear dry bag as tightly as possible, loading your heaviest sleep kit closest to the seat post clamp and featherweight clothes at the far tapered end. Keep total seat pack weight under five kilograms.
Another frequent oversight is ignoring fastener torque under load. Cargo straps cause bags to vibrate against your frame, which gradually shakes loose bottle cage bolts and rack mounts. Apply medium-strength blue thread-locking compound to all accessory bolts, and check them with a preset four-nanometer or five-nanometer torque key before leaving your garage. Avoid standard hardware store bolts that lack anti-corrosive coatings, as road spray and sweat quickly oxidize raw steel threads inside your frame bosses.
Finally, avoid the temptation to over-inflate tires out of fear of pinch-flatting under heavy baggage. Over-inflated tires bounce off stones instead of conforming around them, significantly increasing physical fatigue, decreasing braking efficiency on washboard descents, and causing constant loss of traction on climbs. Test your loaded pressures across short off-road sectors prior to packing for a full weekend.
Final preparation before departure
Pack your entire kit forty-eight hours before your scheduled departure. Load your bike with full water bottles, tools, food, and sleep systems, then take it on a thirty-minute shakeout ride over rough surfaces near your home. Listen for rattles, monitor bag clearance relative to your thighs and tires, and practice retrieving your tools without unstrapping your primary luggage.
- Weigh your fully loaded bicycle using a luggage scale to confirm your setup stays within the weight limits specified by your frame, fork, and wheel manufacturers.
- Inspect your brake pads for wear. Replace any pads worn past 1.5 millimeters of total material, as stopping a loaded bike down steep, dusty descents wears friction material down quickly.
- Confirm that all zipper pulls on your frame and cockpit bags are secured with elastic loops or tucked away to avoid rhythmic clicking against the frame while riding.
- Double-check tire sealant levels using a dipstick or syringe through the valve stem, topping off if the sealant has dried or collected inside the casing.
If you have questions about whether your frame geometry, carbon fork mounts, or wheelset can handle the combined rider and cargo load over unmaintained surfaces, consult a certified bicycle mechanic before strapping heavy loads to your chassis.