Friction destroys skin long before a blister bubbles up. On a 20-kilometer trek, the average hiker takes between 24,000 and 28,000 steps. Every single stride causes mechanical shearing forces between your sock, your shoe chassis, and the epidermal layers of your foot. If you wait until a sharp sting tells you skin has separated, you have already lost the battle against trail friction. You are then managing an open wound across eight to twelve remaining kilometers of dirt, rock, and sustained body weight.
Preventing trail-ending foot trauma requires vigilance, tactical stops, and specific adhesive materials packed in your top lid. Blister prevention is not a static morning task done once at the trailhead. It is an active protocol that adjusts to grade changes, sweat rates, sock dampness, and terrain impact. Understanding how shear forces operate inside trail runners or boots lets you shut down hot spots within ninety seconds of detection, preserving your pace and your trip.
Identifying friction zones before skin tears
Catching a hot spot early saves miles of pain. A hot spot is a localized thermal sensation caused by microscopic shear stress within the stratum spinosum layer of the epidermis. Fluid rushes into this micro-tear to protect deeper tissue, creating the blister pocket. The nervous system registers heat, slight throbbing, or a dull rub several kilometers before the epidermal roof detaches. Ignore that subtle warmth, and mechanical force will shear the roof clean off.
Check the three primary friction zones every time your trail conditions shift:
- The posterior calcaneus (heel counter rub): Common on sustained ascents when the heel lifts against a stiff heel cup.
- The first and fifth metatarsal heads (side blowouts): Occurs during lateral traverses or when the forefoot splays under heavy pack weight.
- The dorsal surface of the lesser toes (hammering and bunching): Triggered by steep descents where toes slide forward into the front taper of the toe box.
Stop your stride the exact moment you feel localized heat. Taking off a pack, untying a boot, and checking a heel costs four minutes. Lancing, disinfecting, and padding a ruptured blister takes twenty minutes and alters your biomechanics for days. Look for faint erythema, which is a patch of pink or reddish skin with intact texture. If the skin is red but taut and dry, it is ready for immediate mechanical shielding.
Run your fingers along the interior liners of your footwear as well. Grit often settles along the inner seams around the heel counter or under the factory insole. A tiny grain of granite quartz functions like 60-grit sandpaper over five kilometers. Wipe the liner clean with a damp bandanna and shake out the footbed before addressing your skin.
Zinc oxide versus hydrocolloid dressings in the field
Different field injuries demand distinct adhesives. Packing only plastic strip bandages or cheap paper tape will fail under heavy trail sweating. You need rigid zinc oxide tapes for hot spots and hydrocolloid wafers for ruptured or weeping blisters. Using the wrong material at the wrong stage makes the injury worse.
Zinc oxide tape, sold under brands like Leukotape P, relies on a high-tack rubber adhesive that bonds tenaciously to skin even through moisture. Its tensile backing has zero stretch, meaning shear forces slide across the smooth top surface of the tape rather than pulling at your skin layers. Hydrocolloid dressings, by contrast, contain gel-forming agents that absorb exudate from raw wounds, creating a moist, sterile environment that shields exposed nerve endings.
| Feature | Zinc Oxide Tape | Hydrocolloid Dressing |
|---|---|---|
| Primary purpose | Friction deflection on intact skin | Cushioning and fluid absorption on raw skin |
| Adhesive strength in sweat | Extremely high, difficult to dislodge | Moderate, edges roll if rubbed directly |
| Stretch and shear response | Zero stretch, redirects all shear load | Flexible, absorbs vertical pressure |
| Direct open wound application | No, adhesive tears regenerating skin | Yes, designed specifically for open beds |
| Application thickness | Thin (under 0.5 mm) | Thick (1.5 mm to 3.0 mm) |
Apply zinc oxide tape to skin that is clean and completely air-dried. Round off every corner of the tape strip with trauma shears before sticking it down. Square corners catch on sock fibers within 600 meters, peeling back the tape and leaving sticky residue that creates fresh friction. Press the tape firmly against the heel or ball of your foot for thirty seconds to activate the pressure-sensitive adhesive with your body warmth.
Reserve hydrocolloid wafers strictly for spots where the skin has already sheared away or where a blister roof has peeled. Clean the perimeter with an alcohol swab, allow the margins to dry, and lay the hydrocolloid directly over the raw skin bed. Anchor the perimeter of the hydrocolloid pad with four strips of zinc oxide tape. Never apply standard zinc oxide tape directly over an exposed blister bed, because pulling it off at the end of the day will strip away new cell growth.
Lacing techniques that lock the heel in place
Shoe movement generates the friction that burns your heels. If your heel lifts more than 4 millimeters during the toe-off phase of your gait, your footwear is loose. Simply pulling your factory laces tighter across the tongue rarely fixes this problem. Over-tightening the midfoot constricts blood flow and crushes the dorsal nerves, leading to numbness and cold toes while leaving the heel loose. You must isolate your heel lockdown using specialized eyelet routing.
The heel-lock technique, also known as the runner's loop, anchors the calcaneus into the rear cup without adding pressure to the top of your foot. Follow these adjustments:
- Lace your shoes normally up to the second-to-last eyelet near the ankle collar.
- Thread each lace end directly upward into the final eyelet on the same side, creating a small exterior loop of lace on both the medial and lateral sides.
- Cross the lace ends over the tongue and thread each end through the opposing side loop.
- Pull the lace ends down and back toward your heel to cinch the loops tightly against the collar.
- Tie your standard square knot or double-bow knot firmly over the tongue.
This configuration pulls the ankle collar downward and backward, locking the heel counter firmly against your Achilles tendon. It eliminates vertical heel slippage on 15 percent grades without requiring extra tension on the lower eyelets.
For hikers dealing with high arches or pressure across the top ridge of the foot, implement window lacing along the middle third of the eyelet chain. Instead of crossing the laces over the tongue at the third and fourth eyelets, route them vertically up the sides into the next hole. This creates an open "window" directly over the sensitive midfoot bones, eliminating downward pressure while allowing the heel lock at the top to do its job.
Midday foot care protocol at water breaks
Do not wait for pain to take off your shoes. On a 20-kilometer hike, schedule a mandatory foot care stop between kilometer 10 and kilometer 12, regardless of how comfortable your feet feel. Foot volume expands by roughly 4 to 8 percent during half a day of load-bearing activity due to vascular pooling and heat. Your moisture levels will peak around this time as well.
Follow a disciplined sequence during this fifteen-minute stop:
- Doff shoes and socks immediately. Place the shoes upside down in direct sunlight or breezy air to vent trapped humidity.
- Pull the insoles halfway or entirely out of the shoes to let the footbeds dry.
- Inspect your skin under direct light. Check between every toe, across the plantar fascia, and around the perimeter of the heel. Look for maceration, which presents as white, wrinkled, waterlogged skin.
- Elevate your bare feet on a log or your backpack for eight minutes. This reduces venous swelling and allows the epidermis to dry and stiffen.
- Brush dry sand and trail dust off your ankles, arches, and calves with a bandana before putting your footwear back on.
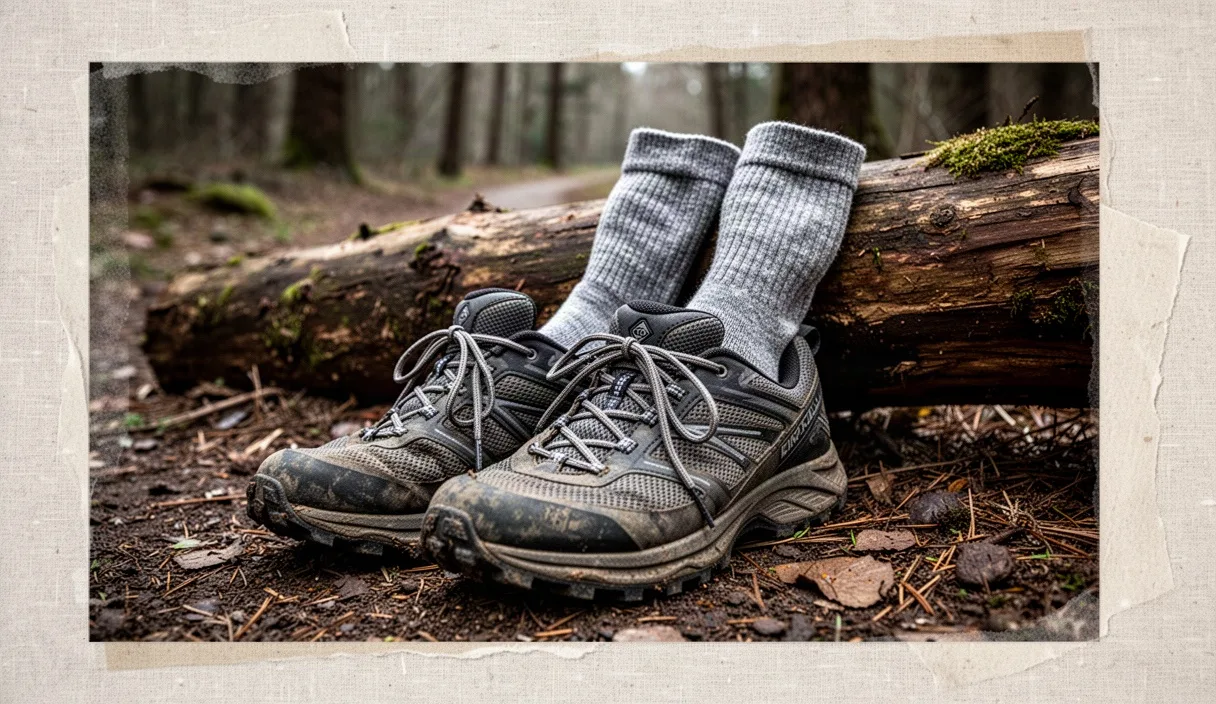
Carry a secondary pair of socks in a dry bag inside your pack. Switch into this dry pair at your midday break. Tie the damp morning pair to the exterior compression straps of your pack to dry while you hike the afternoon miles. Putting fresh, dry socks onto aired feet resets your skin resistance, cuts down internal friction coefficients, and keeps you moving without hot spots through the final push.
Sock density choices for humid regional terrain
Thick socks are not always the safest choice. While heavy cushion absorbs vertical impact, thick socks hold substantial amounts of sweat in hot, humid river valleys or coastal forests. When sock fibers become saturated with salt and water, their friction coefficient jumps dramatically. Saturated wool or nylon rubs like wet suede against softened skin, speeding up maceration and blistering.
Target your sock selection to trail humidity, daily temperature, and foot clearance:
- Ultra-light zero-cushion liners: Knitted synthetic fabrics like polypropylene or CoolMax. Use them under an outer sock to transfer friction between the two fabric layers rather than against your skin.
- Light cushion micro-crew socks: Merino wool blends (roughly 60 percent merino, 36 percent nylon, 4 percent elastane). Best for humid environments above 22 degrees Celsius where air drying occurs slowly.
- Medium cushion socks: Dense loop-terry construction under the heel and metatarsals. Best for dry, rocky trails or sub-15-degree temperatures where impact resistance outweighs sweat accumulation.
- Dual-layer specialty socks: Built-in double knit where the inner layer floats against the outer shell. Excellent for hikers prone to ball-of-foot shear who prefer not to manage two separate socks.
Fit matters as much as fabric weight. A loose sock bunches in the toe box, generating ridges that press into the skin under descent loads. A sock that is too tight compresses the toes together, encouraging interdigital blisters between the fourth and fifth digits. Look for socks with structured, seamless toe closures and an anatomical heel pocket that holds its position without stretching out after twelve kilometers.
Common mistakes
Avoid these frequent errors that worsen trail foot injuries:
- Using duct tape for blister care: Duct tape contains industrial adhesives that liquefy with foot warmth, sliding off the spot and leaving a gummy residue that destroys skin. The non-breathable vinyl layer also accelerates severe maceration underneath.
- Popping closed, sterile blisters: Breaking the roof of a non-painful blister turns a sterile hydraulic cushion into an open portal for soil bacteria. Drain fluid only if pressure makes walking impossible, and always use a sterilized needle while keeping the roof intact.
- Over-tightening laces across swollen toes: Cranking laces down near the front eyelets compresses the forefoot, pinches the metatarsals together, and guarantees friction along the edges of the first and fifth toes.
- Ignoring early friction: Walking an extra two kilometers to reach a scenic vista before tending to a hot spot usually means treating a ruptured blister instead of a simple red mark.
- Wearing waterproof footwear in warm, non-alpine terrain: Footwear with waterproof membranes retains internal moisture in temperatures above 18 degrees Celsius, keeping socks soggy and raising blister risk.
Next steps for trail readiness
Check your blister prevention kit before your next 20-kilometer trek. Restock it with a roll of 3.8-centimeter zinc oxide rigid tape, two sterile alcohol wipes, small trauma shears that can slice through tough adhesive tape without dragging, three small hydrocolloid bandages, and a fine gauge sterile lancet. Keep these supplies in a dedicated zip-top pouch placed in your pack's top lid, never buried in the main compartment.
Take your footwear on a seven-kilometer loaded shakeout hike before committing to a remote route. Test your heel-lock lacing on steep local hills, verify that your toe box gives your feet at least 12 millimeters of clear space past your longest toe, and confirm that your sock density matches the expected humidity. If chronic hot spots persist despite proper lacing, padding, and sock adjustments, consult a sports podiatrist or physical therapist to evaluate your foot mechanics, gait stability, and custom insole requirements.