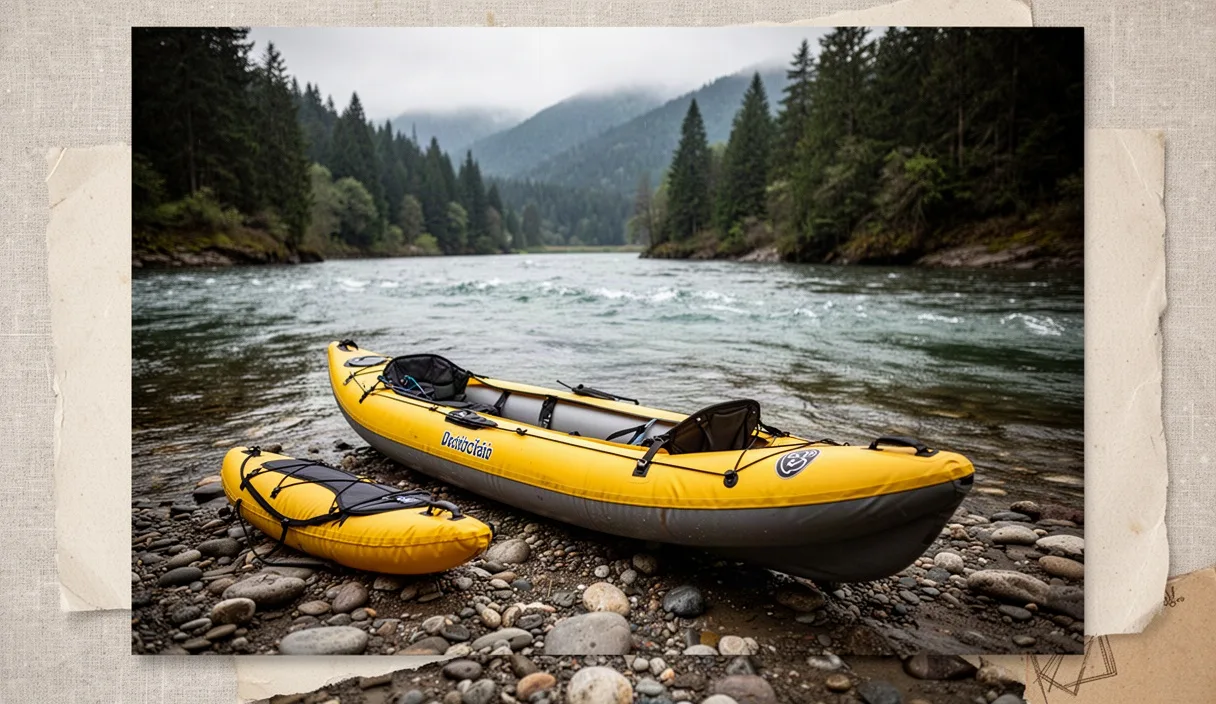
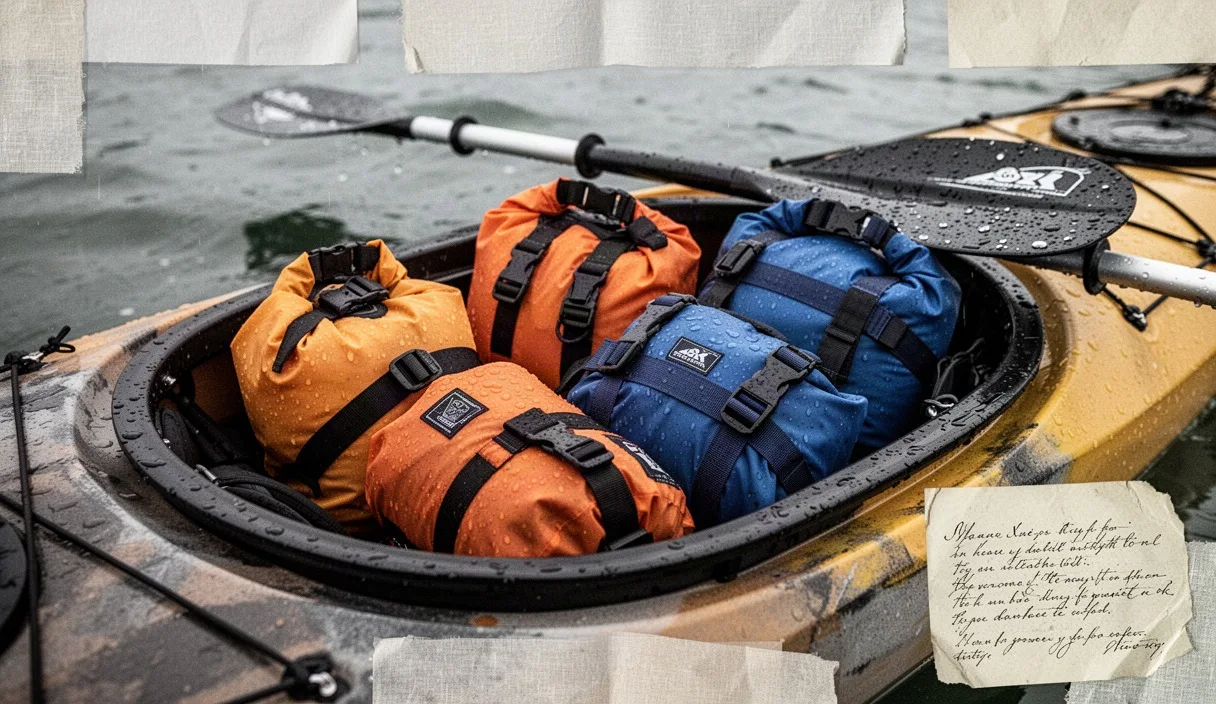
Pack your kit for submersion, not rain. A six-hour river descent puts gear through repeated hydraulic pressure, abrasion against hull ribs, and the certainty of standing bilge water. Standard recreational dry sacks with lightweight polyurethane backings fail when trapped under a kayak seat or wedged into a canoe thwart during Class II-III chop. Your luggage system dictates your boat trim, your rescue responsiveness, and whether you sleep in a dry base layer if an afternoon run turns into an unplanned bivouac.
Every item inside the craft requires a assigned location, a dedicated closure protocol, and a secondary moisture barrier. Six hours on running water means between 15 and 25 river miles depending on flow rates and eddy delays. In that timeframe, a pin, an eddy flip, or continuous splash over the coaming will exploit every pinhole leak, poorly rolled closure, and worn vinyl seam. Build your setup using fabric ratings matched to load positions, exact weight ratios, and quick-access emergency rigs.
Selecting dry bag fabrics: PVC vs siliconized nylon
Choose fabric based on hull placement and abrasion exposure. Heavy-duty polyvinyl chloride (PVC) and thermoplastic polyurethane (TPU) tarpaulin materials handle direct contact with rough polyethylene or composite hulls. Lightweight siliconized nylon or Cordura fabrics belong strictly inside protective hatches or nested inside larger exterior shells. Putting an unprotected 30-denier ultralight bag on an open canoe floor guarantees puncture within four hours of gravel abrasion and foot movement.
PVC bags between 500-denier and 1000-denier use high-frequency welded seams that melt the coated fabrics into a single non-porous joint. These handle continuous water pooling, heavy deck lashing, and dragging across rocky put-ins. The penalty is weight and stiffness, especially in water temperatures below 50 degrees Fahrenheit, where thick vinyl becomes brittle and resistant to tight rolls. Siliconized nylon uses stitched seams covered by bonded polyurethane tape. This tape degrades with mechanical flexing, heat, and age, creating invisible weep points under hydrostatic pressure.
| Feature | 500D-1000D PVC / TPU Tarpaulin | 30D-70D Siliconized Ripstop Nylon |
|---|---|---|
| Primary application | Bilge, open deck lashing, external canoe floor | Bulkhead hatches, interior modular sorting |
| Puncture resistance | High; tolerates sharp gravel and aluminum frames | Low; snags on split rings, pins, and hull burrs |
| Seam construction | Radio-frequency welded; monolithic bond | Stitched and factory taped; vulnerable to peel |
| Roll stiffness (cold) | High; requires firm hand pressure to roll tight | Low; easily folds into tight, small-diameter rolls |
| Empty weight (20L) | 400 to 650 grams | 80 to 140 grams |
Use a hybrid system for a day run. Buy two 15-liter to 20-liter heavy PVC bags for open exposure items: extra insulation, dry shoes, and shore food. Use sets of 5-liter and 10-liter siliconized Cordura bags to organize gear inside those main PVC containers. This double-bagging technique shields delicate electronics, fire kits, and fleece clothing from small droplets that squeeze through the primary roll-top during violent washouts.
Weight distribution rules for small paddlecraft
Distribute packed bags to control boat trim, center of gravity, and roll moment. A stern-heavy boat tracks poorly, catches downstream boils, and lifts the bow so high that crosswinds spin the craft. A bow-heavy boat purls into waves, dives in drops, and handles sluggishly in tight turns. Maintain a 60/40 weight distribution biased toward the stern for standard solo kayaks and packrafts, or 50/50 for tandem canoes on moving water.
Pack the heaviest gear directly over the center keel line, as low as physically possible. Dense gear includes drinking water, canned provisions, tools, spare pin kits, and repair anchors. Place these loads between your hips and mid-thigh in a kayak, or directly behind the center thwart in a solo canoe. Every inch you raise heavy gear above the waterline reduces initial boat stability and increases the rotational leverage that flips you during an accidental brace.
- Center and bottom: Liquids, food rations, mechanical throw lines, heavy first-aid kits, metal hardware.
- Mid-level and stern taper: Spare fleece, shell jackets, dry socks, bivouac tarps, warm mid-layers.
- Bow taper: Bulky, low-density gear like sleeping pads, spare dry bags, and lightweight emergency bivvy bags.
Balance side-to-side loads within a margin of 16 ounces. An asymmetric lateral load forces you to paddle with a corrective sweep stroke on every third cadence, fatiguing the shoulder and core over a six-hour descent. Weigh bags on a handheld luggage scale before sealing them into compartments. If one 20-liter bag weighs 11 pounds and the opposing unit weighs 14 pounds, balance the difference with your liquid hydration bladder or throw bag placement before pushing off the gravel bar.
Configuring quick-draw medical and communication bags
Store your first-aid equipment, personal locator beacon (PLB), and river knife where they can be reached in under ten seconds without untying main structural cargo straps. If an accident happens in a rapid, you do not have time to unthread cam straps, extract a deep bulkhead bag, and unroll four layers of vinyl. Medical supplies and emergency radios belong in a dedicated, high-visibility red or yellow dry pouch secured right in front of the cockpit coaming or mounted to a front deck harness.
The quick-draw medical kit must handle acute river trauma: cold-water aspiration, hypothermia, deep lacerations from sharp river rock, and joint dislocations. Seal contents in transparent zip bags inside a semi-rigid 5-liter dry bag equipped with an air-purge valve. Purging excess air stops the bag from ballooning on your deck, preserving visibility over the bow while maintaining positive buoyancy if it tears loose.
- Trauma dressing and gauze: Vacuum-packed pressure dressings, rolled sterile gauze, cohesive elastic bandages.
- Splinting and stabilization: A malleable aluminum foam splint, triangular bandages for slings, self-adhering wrap.
- Thermal control: Two foil emergency blankets, one heavy vapor-barrier space bag, four instant chemical heat packs.
- Wound management: Antiseptic wipes, sterile irrigation saline, butterfly closures, fabric adhesive strips.
- Signaling and communications: Satellite messenger with active subscription, VHF radio tuned to marine channels (if coastal river), rescue whistle, high-output strobe.
Check battery life and seals on communication gear 24 hours prior to launch. Keep satellite messengers tethered to your life jacket (personal flotation device) rather than the boat whenever possible. If you are separated from the craft in a rapid, a deck-mounted beacon does you no good while you swim through an eddy line a quarter-mile downstream from your boat.
Tying off gear: tether lines versus friction wedges
Loose gear in moving water turns into navigation hazards, foot-entrapment loops, and lost property. Secure every dry bag to the craft, but match the fastening method to the type of hull. A common hazard on rivers is the indiscriminate use of loose, floating nylon ropes that can snare a swimmer's feet or legs during a wet exit. Never loop loose cordage across an open cockpit where your feet must slide during an emergency wet exit.
The tether line method
Use tether systems primarily in closed-hatch kayaks or behind the flotation blocks of whitewater canoes. Build tethers from flat, static polyester webbing rather than buoyant, round polypropylene rope. Secure the primary anchor point directly to an aluminum thwart, factory u-bolt, or structural pillar using an alpine butterfly loop or sewn eye. Attach the bag handle using a locking, gate-shrouded screw-lock carabiner rated for overhead utility or rescue work. Avoid wire-gate hardware that easily catches on deck netting or submerged timber.
Keep the tether line short. The free slack between the boat tie-down point and the dry bag roll top must not exceed 12 inches. If a boat capsizes, a bag on a long tether will drift out, snag under mid-river boulders, and anchor the hull in the main current, making boat recovery impossible and creating a serious hazard for downriver paddlers.
The friction wedge method
In low-volume creek boats and river-running kayaks without hatches, friction wedging holds small dry bags in place behind the seat or forward of the footrests. Pack bags loosely enough that the fabric conforms around internal hull support pillars. Slide the bag past the pillar, then use an integrated oral inflation tube or external air valve to blow three or four breaths of air into the bag, expanding it tightly against the hull plates.
Friction wedges require zero ropes or clips, eliminating loose loops around your legs. To remove the gear, crack open the air valve to deflate the bag before pulling on the retrieval strap. Test this clearance during flatwater practice: ensure you can kick the bag completely clear of your lower legs without snagging your booties on the closure buckles while inverted.
Post-trip drying and inspecting seals for leaks
Maintenance begins the moment you unload at the take-out. River water carries abrasive silt, biological contaminants, tanning acids, and sand that degrade coatings and foul roll-top closures. Open all bags immediately, empty the contents, and invert the inner liners. Rinse both the internal walls and the external surfaces with clean domestic tap water to flush away microscopic river grit from the welded seams.
Dry the gear away from direct sunlight. High solar ultraviolet rays break down PVC plasticizers, causing dry sacks to crack, peel, and become brittle along fold lines. Hang bags upside down using wide-grip pants hangers or wooden dowels through the bottom lash loops. Ensure the mouth remains wide open so air circulates fully down to the bottom seams. Storing damp bags in a dark garage or vehicle bin breeds black mold that rots seam-tape adhesives and creates persistent, musty odors.
Inspect closures using a three-point submersion test before your next river run:
- Dry seal inspection: Run your finger along the plastic stiffener strip in the roll-top collar. If the plastic is cracked, kinked, or broken, it will not roll evenly. A deformed collar prevents the three mechanical folds needed to seal against running water.
- Pressure-bubble test: Trap roughly 70 percent volume of dry air inside the bag. Roll the stiffener collar four full times and snap the buckle together. Apply firm, steady chest compression against the bag with both arms. Listen for faint hissing sounds around the seam welds, bottom corners, and buckle attachments.
- Trough submersion: While keeping pressure on the inflated bag, push it underwater in a utility sink, large tote bin, or tub. Hold it fully submerged for 45 seconds. Watch for strings of tiny bubbles escaping from the roll seam, the valve port, or base seams. A single slow bubble every few seconds means the bag is demoted to a splash sack or must be resealed with flexible urethane adhesive.
Treat sticking roll collars and dry zippers with paraffin-based wax or specialized marine silicone lubricant. Never use petroleum jelly or industrial spray lubricants, which soften PVC fabrics, dissolve urethane coatings, and attract abrasive river dirt into moving parts.
Common mistakes
Avoid these critical packing errors that routinely ruin river runs:
- The single-roll closure: Rolling the bag collar only once or twice before clicking the buckle. A water-tight seal requires a minimum of three clean, flat, tight folds around the plastic stiffener strip. Four folds are better if the remaining fabric strap allows it.
- Leaving excessive air in bulk bags: Trapping too much air inside large gear sacks creates buoyant, oversized balloons that lift canoe thwarts, stretch cargo decks, and shift your center of gravity when water enters the boat. Burp excess air out before making the final rolls.
- Relying on carabiners as handles: Clipping a heavy 30-liter dry bag by a single aluminum carabiner to an open thwart causes stress concentrations that tear webbing loops out of seams when subjected to heavy river hydraulics. Run main cam straps over the bulk of the bag body instead.
- Packing open food with fuel or dry clothing: Liquid camp stove fuels, bug spray containing DEET, and greasy trail rations leak under pressure changes. DEET rapidly dissolves polyurethane coatings and synthetic fabrics. Keep all chemicals isolated in small, dedicated hard-sided containers.
- Burying cold-weather gear: Stashing thermal skull caps, paddle mitts (pogies), and dry shells at the very bottom of the hull. Pack bad-weather gear directly beneath the deck hatch or right below the dry bag collar where it can be grabbed at an eddy stop in 30 seconds or less.
Immediate next steps
Take your bags into the yard before your descent. Run through a dry load test with the actual craft you are paddling. Pack your sleep layers, extra thermal clothing, and dry food into the bags, seal them with the four-roll protocol, and place them inside the hull compartments to confirm clearances.
Sit in the boat with your full paddling kit, spray skirt, and footwear. Confirm your feet reach the foot braces without pressing against bow bags, and verify that no tether ropes or webbing straps cross your cockpit exit path. Adjust your cam strap anchors until the load does not shift when the hull is tilted past 45 degrees. Pack a 2-ounce tube of flexible urethane repair adhesive and a strip of waterproof adhesive patch material in your field kit to handle field repairs on the river.