Turbid water kills hollow-fiber filters. Suspended silt, clay particles, and decaying organic matter will blind a microscopic membrane in less than ten liters if you treat river water without a strategy. On an early spring trip along the Big Sandy River basin, heavy rain pushed turbidity levels above 40 NTU (Nephelometric Turbidity Units), turning creek crossings into liquid clay. We spent five days running a dedicated squeeze filter against a high-capacity gravity bag to evaluate flow degradation, field serviceability, and overall carry weight.
The core mechanics of both systems rely on identical 0.1 or 0.2 micron hollow-fiber clusters. Microscopic straws allow water to penetrate their porous walls while blocking protozoa, bacteria, and microplastics. The difference lies in how pressure is applied to push water through those pores. Squeeze filters demand continuous manual pressure from your hands and forearms, while gravity systems rely on the hydrostatic pressure created by a suspended water column. When silt enters the equation, this mechanical difference determines how quickly your hands cramp, how often you stop to clean, and how long you wait for clean drinking water.
Flow rates measured across muddy creek sources
Testing began at a feeder stream carrying visible suspended clay. Untreated baseline flow rates were recorded using clear tap water at 18 degrees Celsius before hitting the trail, establishing the benchmark potential for each unit. In the field, we processed four consecutive batches of four liters through each filter, measuring output into a graduated Nalgene bottle with a digital stopwatch. No pre-filtration was applied during this initial trial to expose raw baseline vulnerability to silt loading.
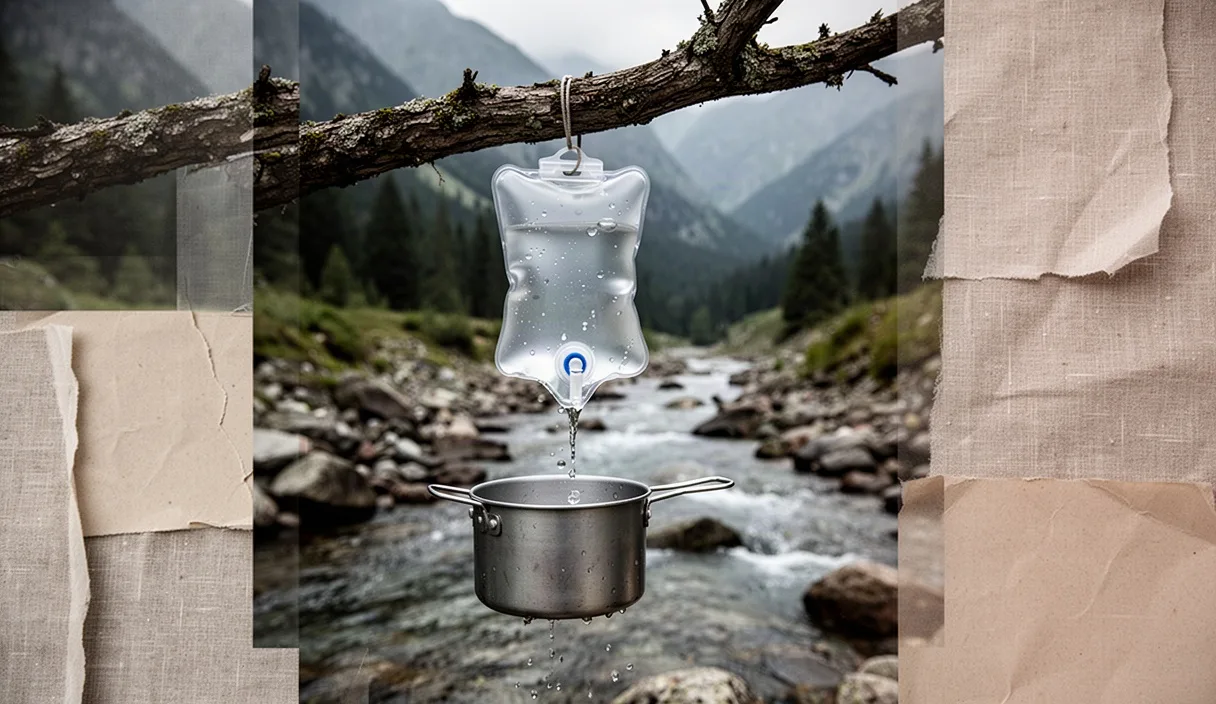
The squeeze setup utilized a standard 0.1 micron Sawyer Squeeze threaded directly onto a 2-liter TPU dirty bladder. The gravity system was an MSR AutoFlow XL featuring a 0.2 micron cartridge suspended at a height of 1.8 meters from dirty bladder base to clean reservoir intake. That elevation produces roughly 17.6 kilopascals of head pressure. Manual squeezing achieved higher initial pressure, reaching an estimated 35 kilopascals under hard two-handed compression, but that output was unsustainable over multi-liter runs.
| Filtration Stage | Squeeze Filter Flow Rate | Gravity Filter Flow Rate | Manual Effort Required |
|---|---|---|---|
| Clean baseline (tap water) | 1.75 liters per minute | 1.60 liters per minute | Continuous moderate squeeze |
| Muddy creek: Run 1 (0 to 4 Liters) | 1.10 liters per minute | 1.25 liters per minute | Hard two-hand compression |
| Muddy creek: Run 2 (4 to 8 Liters) | 0.45 liters per minute | 0.70 liters per minute | Maximum grip strength |
| Muddy creek: Run 3 (8 to 12 Liters) | 0.18 liters per minute | 0.32 liters per minute | Intermittent bursts, hand cramps |
| Post field backflush (500 ml) | 0.65 liters per minute | 0.95 liters per minute | Moderate hand fatigue |
By the twelfth liter, fine clay had embedded deeply within both fiber bundles. The squeeze filter suffered an 89 percent loss in flow rate compared to its clean baseline. Squeezing four liters through the restricted membrane required 22 minutes of intense manual effort, resulting in forearm fatigue and localized seam stress on the collection pouch. The gravity setup saw flow rates drop by 80 percent, yet it required zero manual labor during the 12-minute hang time. The constant, steady hydrostatic pressure maintained a slow but uninterrupted drip that freed hands for setting shelter or prepping meals.
Field maintenance and backflushing under trail conditions
Silt does not wash off a hollow-fiber cluster simply by swirling water around the housing. Sub-micron particles wedge inside the porous walls of the fibers. To dislodge them, you must drive clean, filtered water backward through the output nozzle with sufficient force to pop the sediment free. Under field conditions, backflushing is your only line of defense against a permanently clogged filter.
The squeeze filter relies on a 60-milliliter plastic syringe or a proprietary cleaning coupler threaded to a clean plastic bottle. To restore flow, carry at least 300 milliliters of previously purified water dedicated solely to backflushing. Press the syringe firmly against the clean outlet, brace the filter body, and slam the plunger with the palm of your hand. A gentle push does nothing: you need sharp hydraulic shock to blow out clay plugs. In our tests, three rapid 60-milliliter flushes discharged brown, turbid discharge and recovered 37 percent of the lost flow rate.
Gravity systems often feature built-in backflushing mechanisms that do not require carrying a separate syringe. With systems like the Platypus GravityWorks or Katadyn Base Camp, you invert the system. Lower the dirty reservoir below the clean reservoir, open the line clamp, and let roughly 400 milliliters of clean water flow backward through the cartridge by gravity, or gently squeeze the clean reservoir to accelerate the reverse rush. We found this method faster and less messy than using a syringe, though it consumed roughly 10 percent of our total treated water supply per cycle.
- Carry a dedicated female-to-female cleaning ring: Thread a standard 28 mm beverage bottle filled with clean water directly to the squeeze filter output. This eliminates the dead weight of a plastic syringe.
- Backflush before storage: Never let a silt-laden filter sit dry in your pack between camps. Once clay dries inside the hollow fibers, it turns into hardened ceramic and cannot be dislodged.
- Agitate the dirty reservoir: Shake the dirty water bag vigorously away from your clean gear before connecting the filter cartridge to shed large sediment from the outside of the fiber tubes.
Pre-filtration tricks to stop hollow-fiber blockages
Preventing sediment from reaching the hollow-fiber core is ten times more effective than backflushing a blinded membrane. If water has a yellowish tint or contains floating grit, direct filtration is a mistake. Implement a staged settling and mechanical screening process at the water source before attaching your filter element.
Flocculation and natural settling
Scoop water into a wide-mouth container or collapsible bucket and let it stand still for 45 minutes. Heavy sand and large mineral grits fall to the bottom within three minutes. Colloidal clay remains suspended far longer. Adding a pinch of clean wood ash from a campfire or 0.2 grams of food-grade alum (potassium aluminum sulfate) per four liters destabilizes the electrical charges of suspended clay particles. The particles clump into visible flocs and drop to the floor of the bucket, leaving clear water above that can be carefully decanted into your dirty bag.
Mechanical barriers
A mechanical pre-filter stops organic matter, pine needles, and coarse silt from reaching the primary intake. Standard woven bandanas have a pore size ranging between 80 and 150 microns. They catch sand, but clay passes straight through. A brown paper coffee filter folded over the intake or secured with an elastic band drops incoming turbidity significantly, filtering down to roughly 20 microns.
- Cover the mouth of your dirty collection bag with a synthetic buff or bandana to trap leaves, algae, and coarse sand during the initial dip.
- If the water appears cloudy, pour it through a bleached paper coffee filter nested in a funnel or lightweight plastic cut-off bottle top.
- Allow the water to sit undisturbed in the collection bladder for 30 minutes, keeping the intake port propped two centimeters above the bottom sediment layer.
- Decant the clear upper liquid into your filter system, leaving the sludgy layer at the bottom of the container to be dumped out.
Weight, bulk, and durability trade-offs in small packs
Ultralight gear lists favor the squeeze filter for good reason. A bare Sawyer Squeeze weighs 85 grams. Paired with an aftermarket TPU pouch weighing 54 grams, the entire water treatment package sits at 139 grams. It slips into a side water bottle pocket or an exterior mesh sleeve without occupying main pack volume. The setup requires no clearing of overhead tree branches and functions whether you are hiking, sitting, or moving down the trail.
Gravity systems carry a weight penalty of 200 to 350 grams over squeeze options. The extra mass comes from long silicone or polyurethane hoses, shutoff clamps, hanging straps, tree carabiners, and dual wide-mouth bladders. An MSR AutoFlow XL system weighs approximately 340 grams complete with its pack sack. The bulk is also noticeable: four to six meters of coiled hose and large-capacity roll-top bags occupy significant space inside a 40-liter fastpack.
Durability leans in favor of the gravity system when water sources are rough. The heavy-duty polyurethane bladders used in gravity kits withstand abrasions against granite and tree bark far better than ultralight squeeze pouches. Squeezing a fragile Mylar pouch with 30 kilopascals of manual pressure repeatedly stresses the laminated neck near the plastic threads. Pouch blowouts are common field failures for squeeze filters processing muddy water. If you choose a squeeze system for silty routes, replace factory foil pouches with durable, reinforced TPU reservoirs like the Cnoc Vecto, which feature a 0.4 mm thick wall and a burst pressure well above standard factory bags.
Freezing risk mitigation during early spring overnights
Hollow-fiber filters contain residual water inside the straw membranes after their very first use. If that moisture freezes, the water expands, rupturing the thin plastic fiber walls. The microscopic pores tear open, allowing bacteria, Giardia cysts, and Cryptosporidium oocysts to pass directly into your clean bottle. The worst part: a freeze-damaged filter shows no external signs of failure. The casing remains intact while the internal barrier is gone.
During early spring overnights, valley temperatures routinely dip to minus 3 degrees Celsius, even when daytime hiking temperatures feel mild. Follow strict thermal defense protocols from dusk until you break camp the next morning.
- Keep the cartridge inside your sleeping system: Disconnect the filter cartridge from all hoses and bags before sundown. Seal the damp unit inside two quart-sized zip-top bags and place it at the bottom of your sleeping bag or inside an insulated jacket pocket. Your body heat is the only reliable defense against freezing.
- Hike with the filter on your body: Do not store a damp filter inside an external mesh backpack pocket during sub-zero morning starts. Keep the cartridge in an interior jacket pocket close to your chest until ambient air temperatures climb securely above 4 degrees Celsius.
- Perform a field integrity check if freezing is suspected: If you suspect your filter caught frost, perform a manual bubble test. Submerge the filter in water, blow into the outlet nozzle with your mouth. If the membrane is intact, you will encounter high resistance and see zero air bubbles exiting the fibers. If you can easily blow air through the core and create continuous streams of bubbles, the fibers are ruptured. Stop using the filter immediately.
If you lack the equipment or conditions to test an element you suspect has frozen, rely on chemical purification tablets, boiling, or consultation with a wilderness medical professional regarding waterborne illness risks if consumption has already occurred.
Common mistakes
- Squeezing with body weight: Kneeling or stepping on a squeeze pouch to speed up flow rates dramatically spikes internal pressure, bursting the bladder seam or forcing sediment past the filter end-caps.
- Dropping the clean output into dirty sources: Setting the filter down on muddy riverbanks allows clay and livestock contaminants to coat the threaded clean spout, bypassing the filter membrane entirely.
- Letting hoses dangle in mud: Gravity systems feature clean-side hoses that easily touch the soil while adjusting hanging straps. Keep clean hose ends capped or clipped into the clean bag port.
- Using silty water to backflush: Reversing dirty water through the system forces sediment into the core straws from the inside out, causing immediate, irreversible clogging.
- Ignoring dry-out calcification: Storing a filter at home without thoroughly flushing it with distilled water leaves mineral scale on the fibers, permanently reducing its flow rate before your next trip begins.
Next actions for dirty water trips
To prepare your filtration kit for routes featuring muddy or standing water sources, take these immediate baseline steps before leaving home:
- Pull your hollow-fiber unit from storage and run two liters of warm tap water through it to re-wet the dry internal membrane, which naturally resists flow when desiccated.
- Time a baseline flow test with a stopwatch. If a one-liter gravity run takes more than 75 seconds with clean water, soak the unit in a mild white vinegar solution (one part vinegar to three parts water) for 20 minutes to dissolve mineral scaling, then backflush thoroughly.
- Pack a dedicated mechanical pre-filter kit: stash three bleached coffee filters, two heavy rubber bands, and a 28 mm cleaning coupler inside a small nylon ditty bag.
- Inspect your dirty reservoir for crease fatigue and micro-tears, especially near the neck threads where mechanical pressure concentrates during filtration.